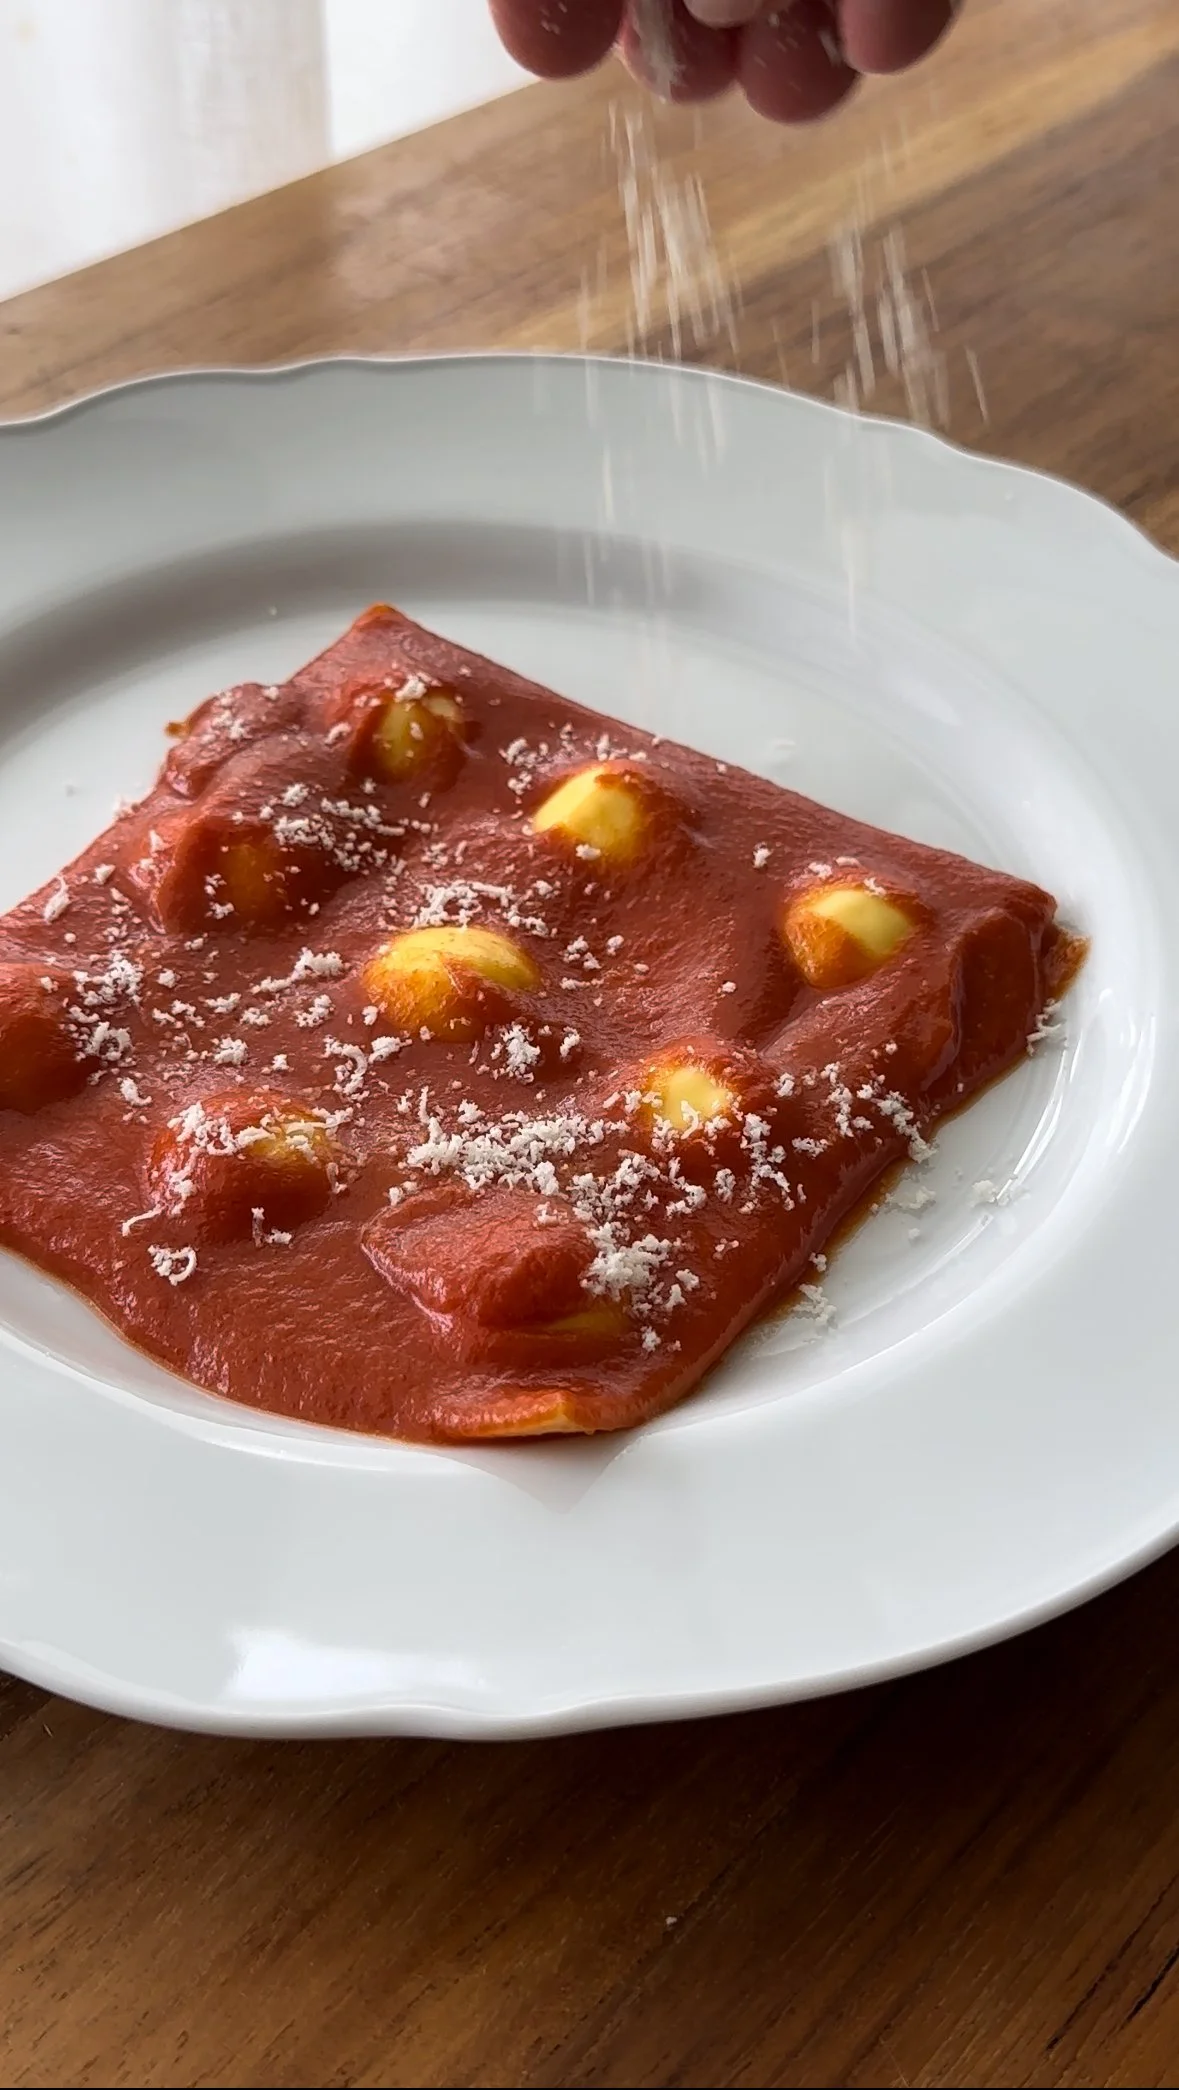
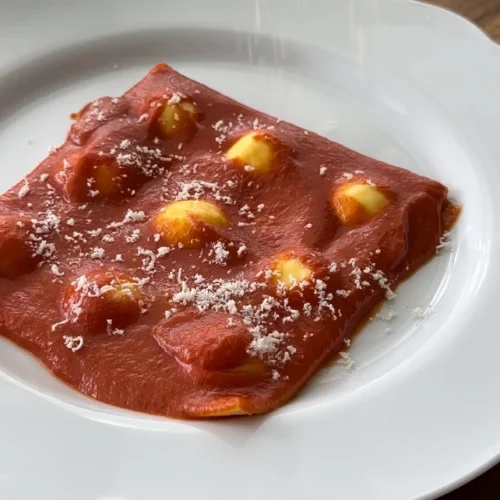
Ricotta ravioli with burro e oro sauce
Burro e oro has got to be one of the most simple and yet most delicious quick sauces you’ll ever come across. Hailing from Bologna, it is a combination of butter (the burro) and tomato (the oro – or rather, gold). It’s certainly not for those that fear butter (you shouldn’t, btw), as there is a hefty ratio of butter to tomato, but my goodness the sauce!!! You must try it.
Marcella Hazan really popularised this sauce, or the concept of mixing butter with tomatoes with her very well known butter, pomodoro and onion sauce. In that she throws all three ingredients in a pan and simmers for the best part of an hour.
Sfoglina Alessandra Spisni has a totally different technique – again she uses whole canned tomatoes but she instead cooks these down until much of the liquid has evaporated, before adding to cold butter and emulsifying using an emersion blender.
My recipe is a little different in that it uses passata, garlic and butter – it’s quicker to make as you’re not working with whole tomatoes, and it has a very slight hum of garlic to it, which I really love.
Staying somewhat true to Bolognese tradition, I have paired this with a stuffed pasta albeit not what’s typically used in Bologna – for that you would of course be looking at tortelloni! But it makes for a great (and impossibly easy) pomodoro sauce that would go wonderfully with any shape.
Ricotta Ravioli with Burro e Oro sauce
Ingredients
For the ravioli
- 360 g tipo 00 flour
- 135 g whole eggs
- 85 g egg yolks
For the filling
- 450 g firm ricotta
- 50 g grated Parmigiano Reggiano
For the burro e oro sauce
- 150 g butter
- 2-3 garlic cloves whole, slightly smooshed
- 400 g good quality passata
Instructions
Filling (this is so simple it doesn’t really need a recipe)
- Pat as much moisture out of the ricotta as possible using kitchen paper.
- Add the grated Parmigiano and a generous seasoning of salt and pepper – mix to combine.
Ravioli
- Place the flour in a mound on your work surface and make a well in the centre. Pour the eggs into the well and using a fork, slowly begin to whisk until the yolks and whites have come together.
- Start incorporating a little bit of flour at a time, whisking vigorously until you have a thick custard-like consistency.
- Switch to a bench scraper, starting in front of you scoop up some flour from the outer edge and flip it over the centre. Use a chopping motion to cut the flour into the eggs. Repeat, moving around all sides of the flour.
- Once you have a shaggy dough, use your hands to press into a ball. It might be a bit crumbly at first but keep going, and once you can see and feel a ball form starting to take shape, it’s time to knead.
- After 5 minutes of kneading, cover the dough in something airtight and let it rest for 5-10 minutes. This will allow the dough to rehydrate and the gluten relax.
- Return to the dough and continue kneading for another 5-7 minutes. The dough should be smooth and elastic, and not sticky at all.
- Cover the dough again and let it rest for a minimum of 30 minutes at room temperature.
- Once rested, divide the dough into four pieces. Work with one at a time – flatten the piece with your hand or a rolling pin before passing it through the thickest setting on your pasta machine. Fold the edges in to create a neat rectangle that fits the width of your pasta machine, and run it through the thickest setting again until your dough is uniform in shape
- Continue passing your dough through the machine, working through each thickness setting until you get to setting 6 or 7, depending on your preference for thickness of stuffed pasta.
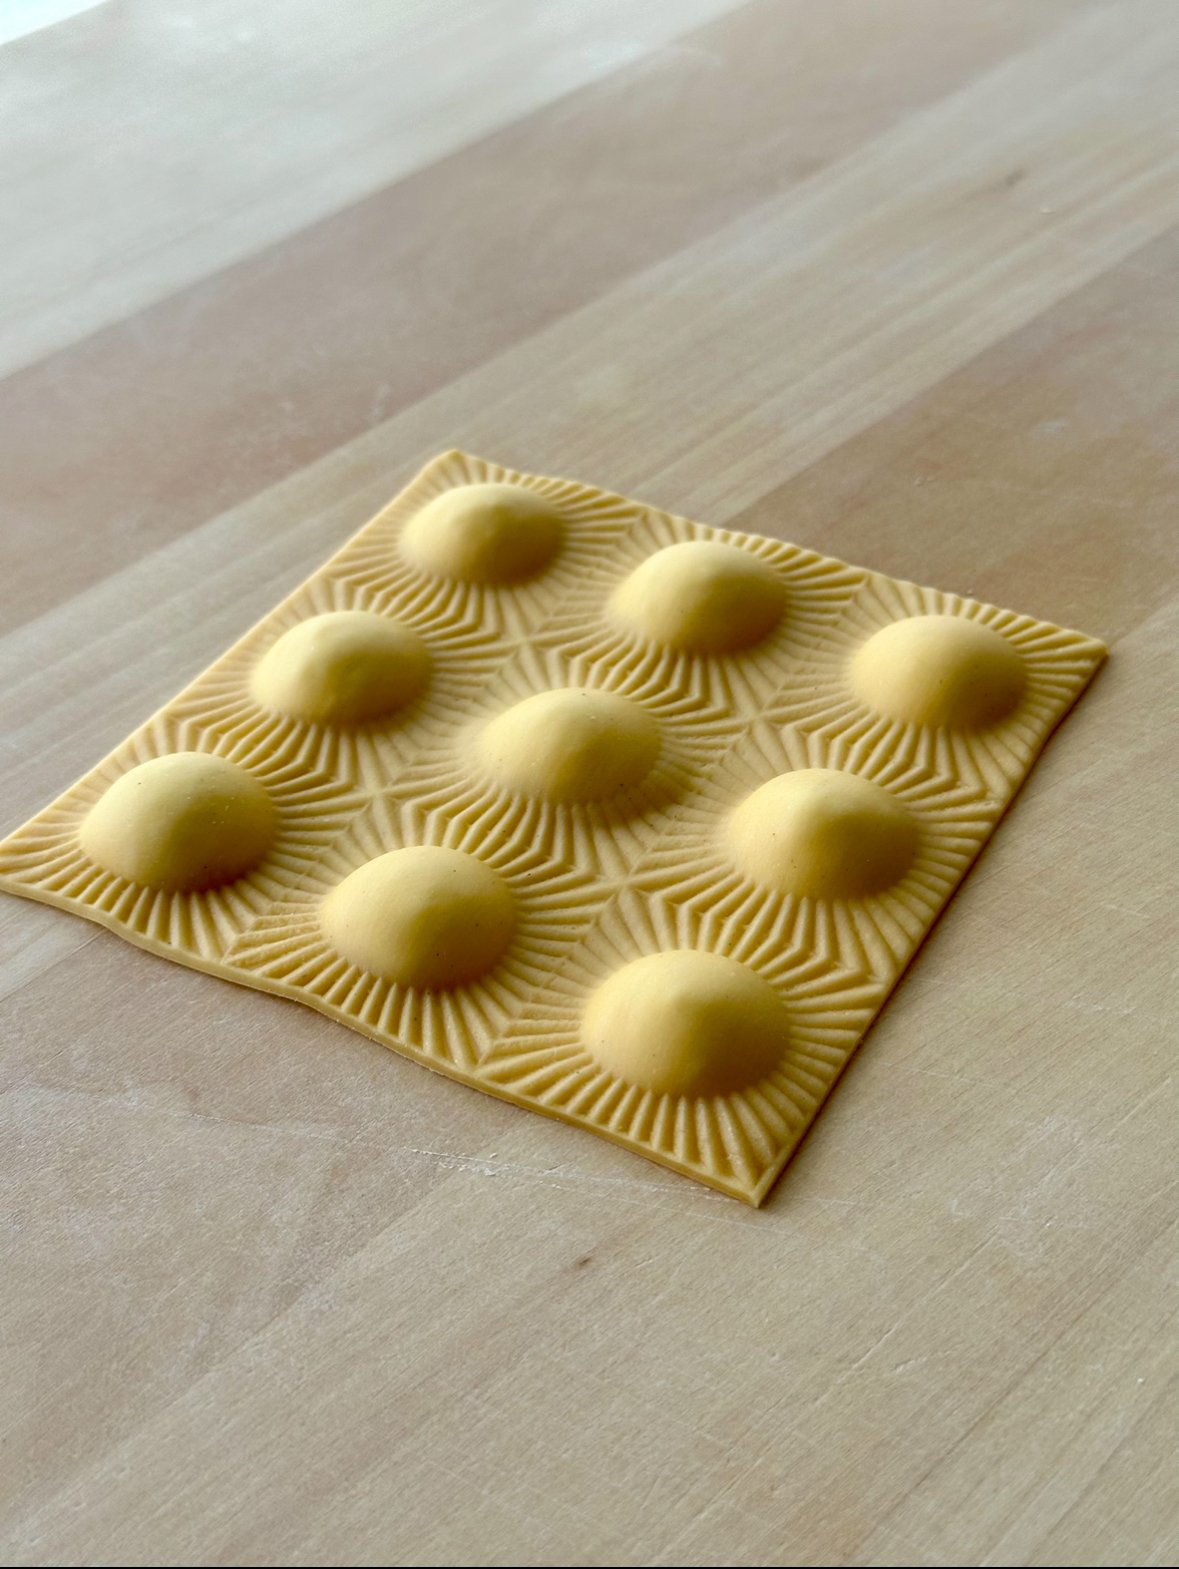
Using a ravioli mould
- Cut the pasta sheets into widths that fit your mould and drape one sheet over the base. Use your fingers to help press in the indents, then pipe the filling directly into them – be careful not to overfill.
- Take another sheet of dough and cover. Use a rolling pin to press and seal, and gently push out any air.
- Flip the mould over to remove the pasta, then using a tagliapasta or pastry butter, separate the ravioli – you can also keep the sheet whole like I have here, just for fun!
- Place on a baking sheet lined with a clean tea towel, or dusted with fine semolina and set aside until use.
Shaping ravioli free-hand
- Take a rolled sheet of pasta and cut it in half.
- Along one sheet of pasta, pipe the filling evenly spaced apart along the sheet.
- Take the other half of the sheet and drape it over the filling to cover. Use your fingers to press around the filling and remove as much air as possible.
- Use a pastry cutter, or tagliapasta to cut out each ravioli in whatever shape you like.
- Place on a baking sheet lined with a clean tea towel, or dusted with fine semolina and set aside until use.
- NB: if you aren’t planning on cooking the ravioli right away or if you have leftovers, I always recommended freezing them until you’re ready to use to prevent the base of the ravioli from getting soggy. Place the ravioli on a tray in a single layer and flash freeze for 20 minutes. Then place in an airtight container and store in the freezer until you’re ready to use. Cook directly from frozen (they might take 30 seconds-1 minute longer to cook so be mindful).
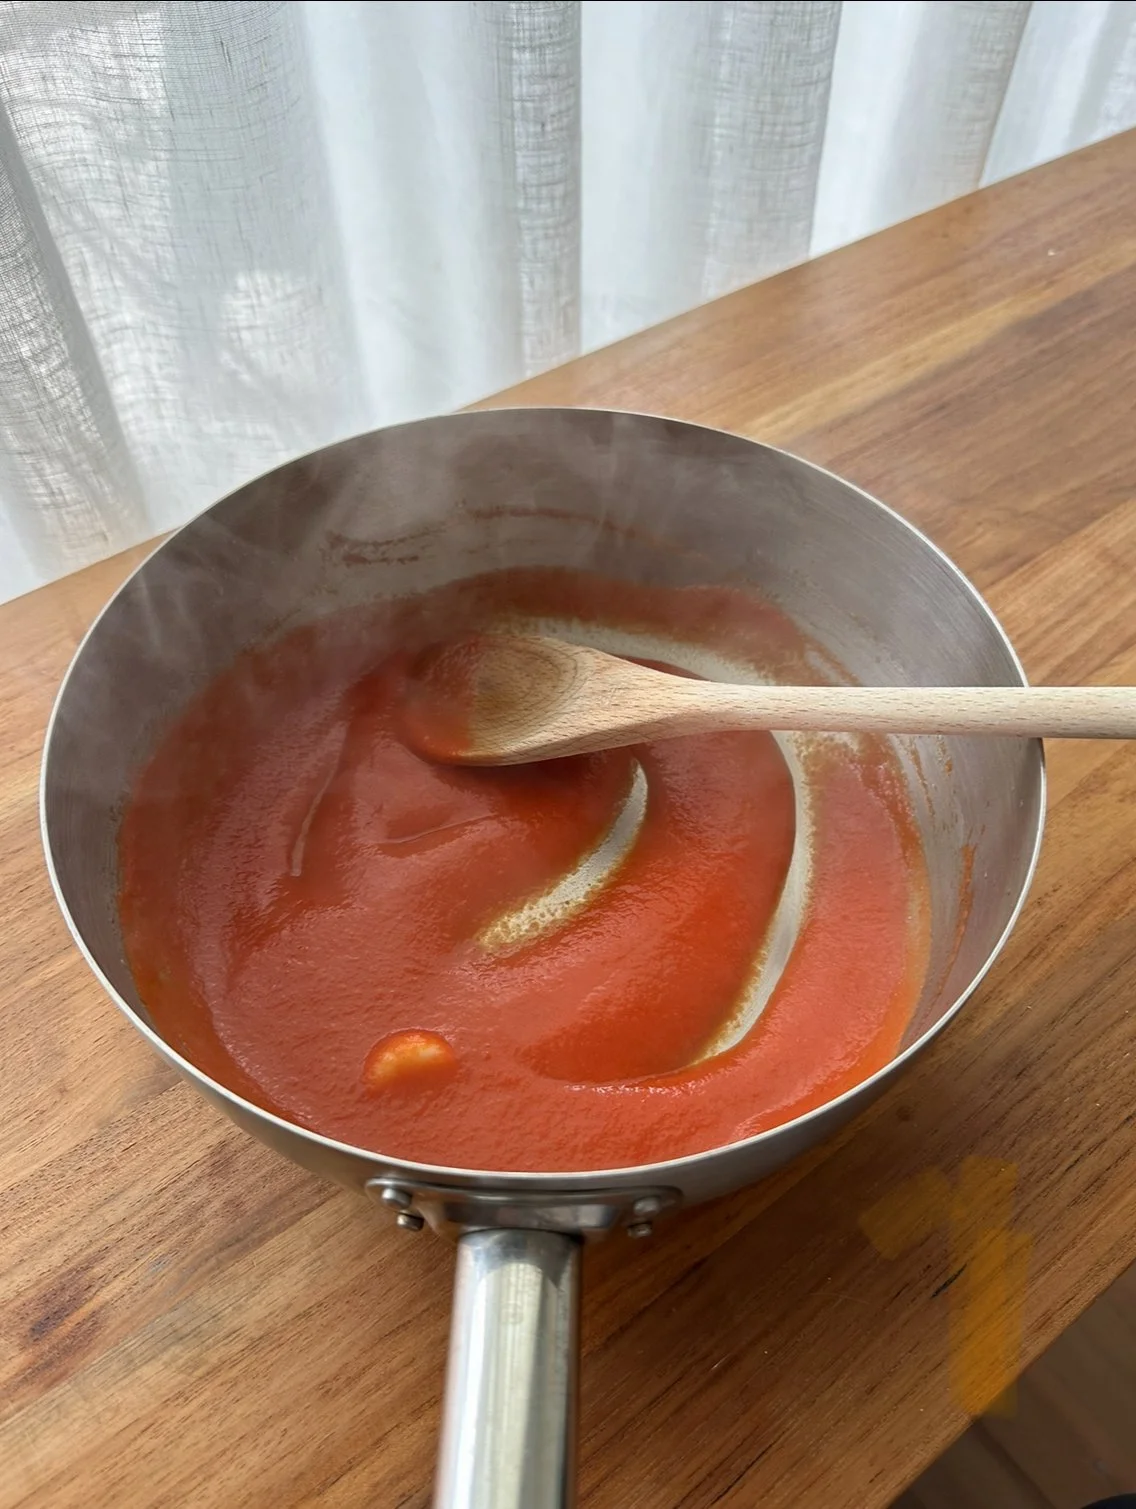
Burro e oro sauce and finishing touches
- Melt butter and add the garlic. Let them infuse the butter momentarily – but don’t brown them!
- Add the passata, stir to combine, and allow to simmer for 10 min or longer if you fancy.
- Cook the ravioli for a minute or two in generously salted boiling water (if you are keeping the ravioli sheet whole then make sure the water is simmering to as not to break the pasta).
- Remove with a slotted spoon and coat in the sauce.
- Serve with extra grated Parmigiano.