

Homemade Pici Pasta
Pici pasta is a rustic, hand-rolled pasta from Tuscany and one of my all-time favourite shapes to both make and eat. Think of it as a thick, slightly irregular spaghetti with the most wonderful chewy, slurpy texture. Even better, there’s no pasta machine or special equipment required. All you need is flour, water, a little olive oil, and your hands!

Pici was actually one of the first hand-formed shapes I made when I started my pasta journey, and I still think it’s one of the best places to start if you’re new to making fresh pasta. There’s no pressure to create perfectly uniform strands (although, admittedly, I do like mine quite smooth and even), and the simple egg-free dough is incredibly satisfying to work with.
What is Pici Pasta?
Pici – pronounced pea-chee – is a thick, hand-rolled pasta traditionally associated with Tuscany, particularly southern Tuscany around Siena and the Val di Chiana. Similar hand-rolled pasta shapes can also be found in neighbouring Umbria and Lazio under names including lunghetti, strangozzi, pinci and umbricelli.
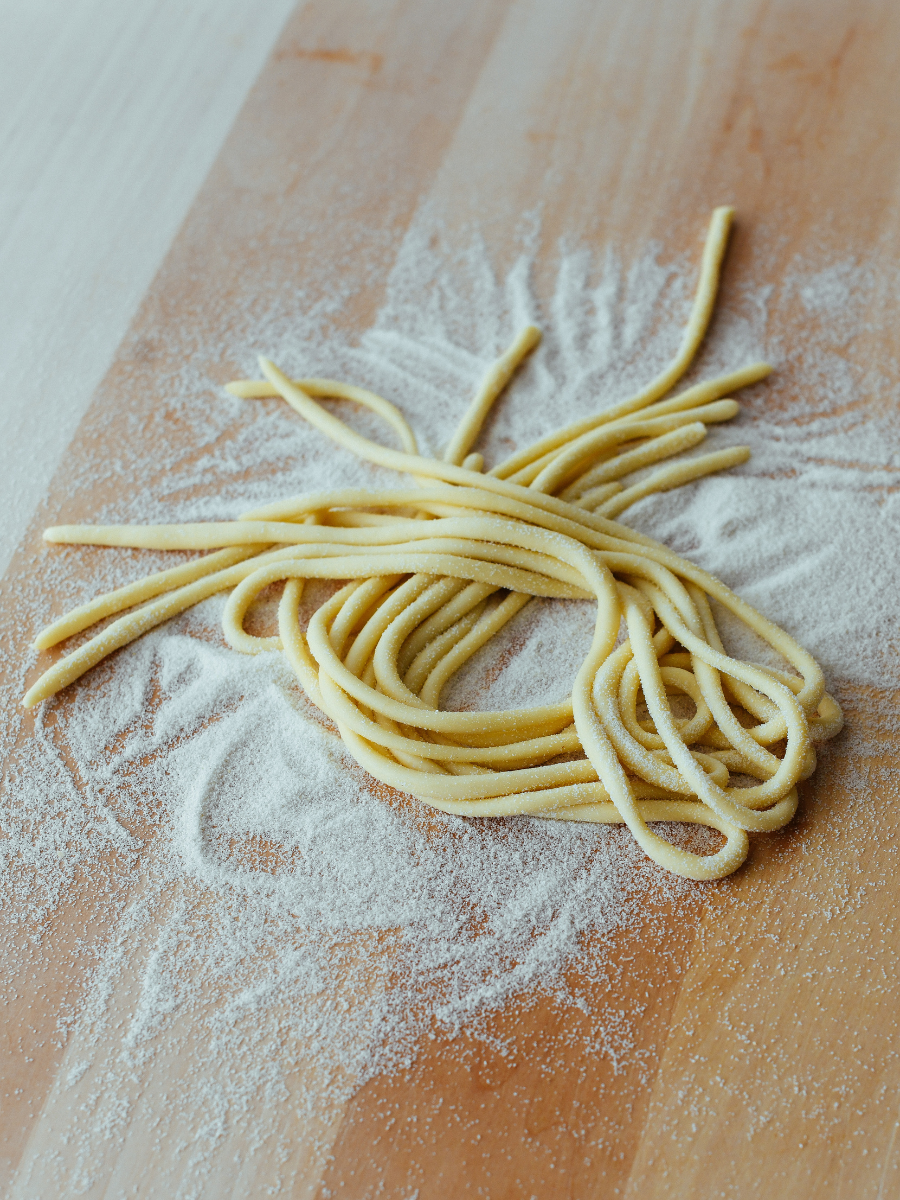
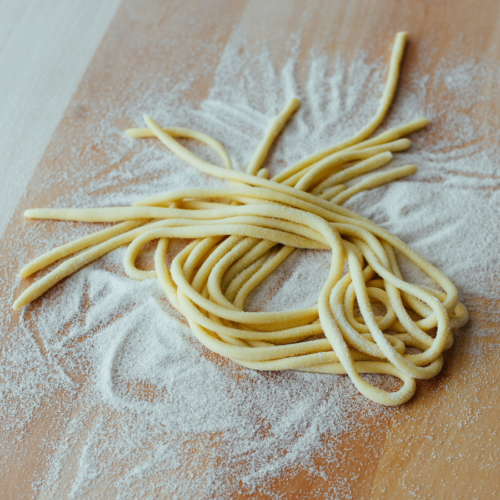
The easiest way to describe pici is as a rustic, handmade version of thick spaghetti. Rather than rolling sheets of dough through a pasta machine and cutting them, as I do with pasta ruvida and my herb laminated pasta dough, each strand is rolled and stretched individually using the palms of your hands.
That means pici is naturally a little irregular, and that’s part of its charm! Mine tend to be relatively uniform because that’s how I personally like to eat them, but please don’t stress if yours are a little wonky.
Ingredients and Notes
You only need three ingredients to make this pici pasta recipe:
- Tipo 00 flour – I use 200g tipo 00 flour for a soft, pliable dough that’s easy to roll by hand. You can also make pici with semolina or a combination of the two, but I’ve found that this creates a slightly denser, chewier finished pasta.
- Warm water – I use 90-94ml, giving us a dough with roughly 45-47% hydration. Start conservatively because it’s much easier to add a touch more water than fix an overly wet dough.
- Extra virgin olive oil – I use olive oil primarily during shaping, brushing it over the dough to introduce a little extra hydration and, importantly, prevent the strands from drying out and sticking together.
You’ll also want some fine semolina for dusting your tray or tea towel once the pici has been shaped.
Why Resting the Dough Matters
I know. You want to get rolling! But giving the dough enough time to rest makes shaping pici SO much easier.
I recommend resting it for a minimum of 30 minutes, but preferably 60 minutes. The longer rest allows the gluten to relax, making the dough much more pliable. This is particularly helpful when you’re trying to elongate the strands and have a little more control over their thickness.
If you find your pici constantly springing back or resisting you as you roll, there’s a good chance your dough simply needs more time to rest.
How to Make Pici Pasta
Make the Dough
- Create a well. Place the flour in a mound on your work surface and create a well in the centre. Pour in the warm water.
- Start incorporating the flour. Whisk small amounts of flour into the water until you form a paste. Gradually incorporate more flour, using a bench scraper or your fingers to bring everything together.
- Knead. Once you have a shaggy ball, knead the dough until it becomes smooth and elastic and springs back when gently poked. I like to give it a short, covered rest halfway through before continuing.
- Rest. Cover the dough and leave it at room temperature for at least 30 minutes, although I strongly recommend giving it the full 60 if you have time.


Shape the Pici
- Divide the dough. Cut it into four pieces. Work with one at a time and keep the remaining dough covered so it doesn’t dry out.
- Roll it out. Use a rolling pin to flatten one piece until it’s approximately 1-2 cm thick.
- Add olive oil. Brush both sides of the dough lightly with extra virgin olive oil.
- Cut into strips. Slice the dough into strips roughly 1cm wide.
- Roll the strands. Working with one strip at a time, place your palms in the centre and roll outwards, gradually stretching the dough into a long, round noodle.
- Check the thickness. I aim for strands around ½ cm thick. Remember that they’ll expand slightly when cooked, so don’t make them too chunky.
- Set aside. Transfer each finished strand to a baking sheet dusted with fine semolina or lined with a clean tea towel. Continue until you’ve shaped all the dough.
My Top Tips for Hand-Rolling Pici
- Give the dough enough time to rest. If you want long strands that are easy to manipulate, the 60-minute rest really does make a difference.
- Keep unused dough covered. The surface dries surprisingly quickly, which makes it much more difficult to roll smoothly.
- Use your palms, not just your fingertips. Start in the centre of each strip and gradually move your hands outwards as you roll. This helps elongate the strand more evenly.
- Don’t obsess over perfection. Pici is supposed to be rustic. Some variation in thickness and length is completely normal.
- Don’t make the pieces enormous. Rustic doesn’t have to mean haphazard. I personally prefer pici with enough thickness for a bit of chew without becoming overly doughy.
- Use olive oil while shaping. Brushing the dough with a little oil helps keep it pliable and prevents the strands from drying out or sticking.
- Dust your finished pasta. A little fine semolina on your tray helps prevent all your carefully rolled strands from sticking together.
Frequently Asked Questions
How thick should pici be?
There isn’t a need to get the ruler out for every strand. Pici is hand-formed pasta, after all! I aim for approximately ½ cm thick before cooking. This gives me the fat-spaghetti texture I love without the centre becoming too dense or doughy.
You’ll find some pici that’s much thicker and more irregular, particularly because the rustic nature of the shape is part of its appeal. Personally, I prefer mine with a little more uniformity.
Think thick and satisfyingly chewy rather than giant ropes of pasta.
How long does fresh pici take to cook?
Fresh pici takes approximately 4-5 minutes to cook in generously salted boiling water, depending on how thick you’ve rolled the strands. Because every batch of hand-rolled pasta is going to be slightly different, I always recommend tasting a strand rather than relying solely on the timer.
You’re looking for pici that’s cooked through but still has that wonderfully substantial, chewy bite.
What sauce goes with pici pasta?
One of the reasons I love pici so much is that those thick, chewy strands can stand up to all kinds of sauces. In Tuscany, you’ll commonly see pici served with aglione, a tomato sauce made with the region’s large, mild garlic, as well as cacio e pepe and meat-based sauces.
My original version of this recipe paired the pici with a VERY saucy brown butter cacio e pepe, which remains an excellent option. The thick strands are particularly good with creamy, cheesy sauces because there’s enough pasta there to balance all that richness.
Pici also works beautifully with tomato sauces and ragùs, such as my 10-minute tomato paste pasta sauce, classic pomodoro sauce, and beef short rib ragu. Basically, if you have a sauce that deserves a substantial noodle, pici is a very good place to start.
Can I make pici ahead of time?
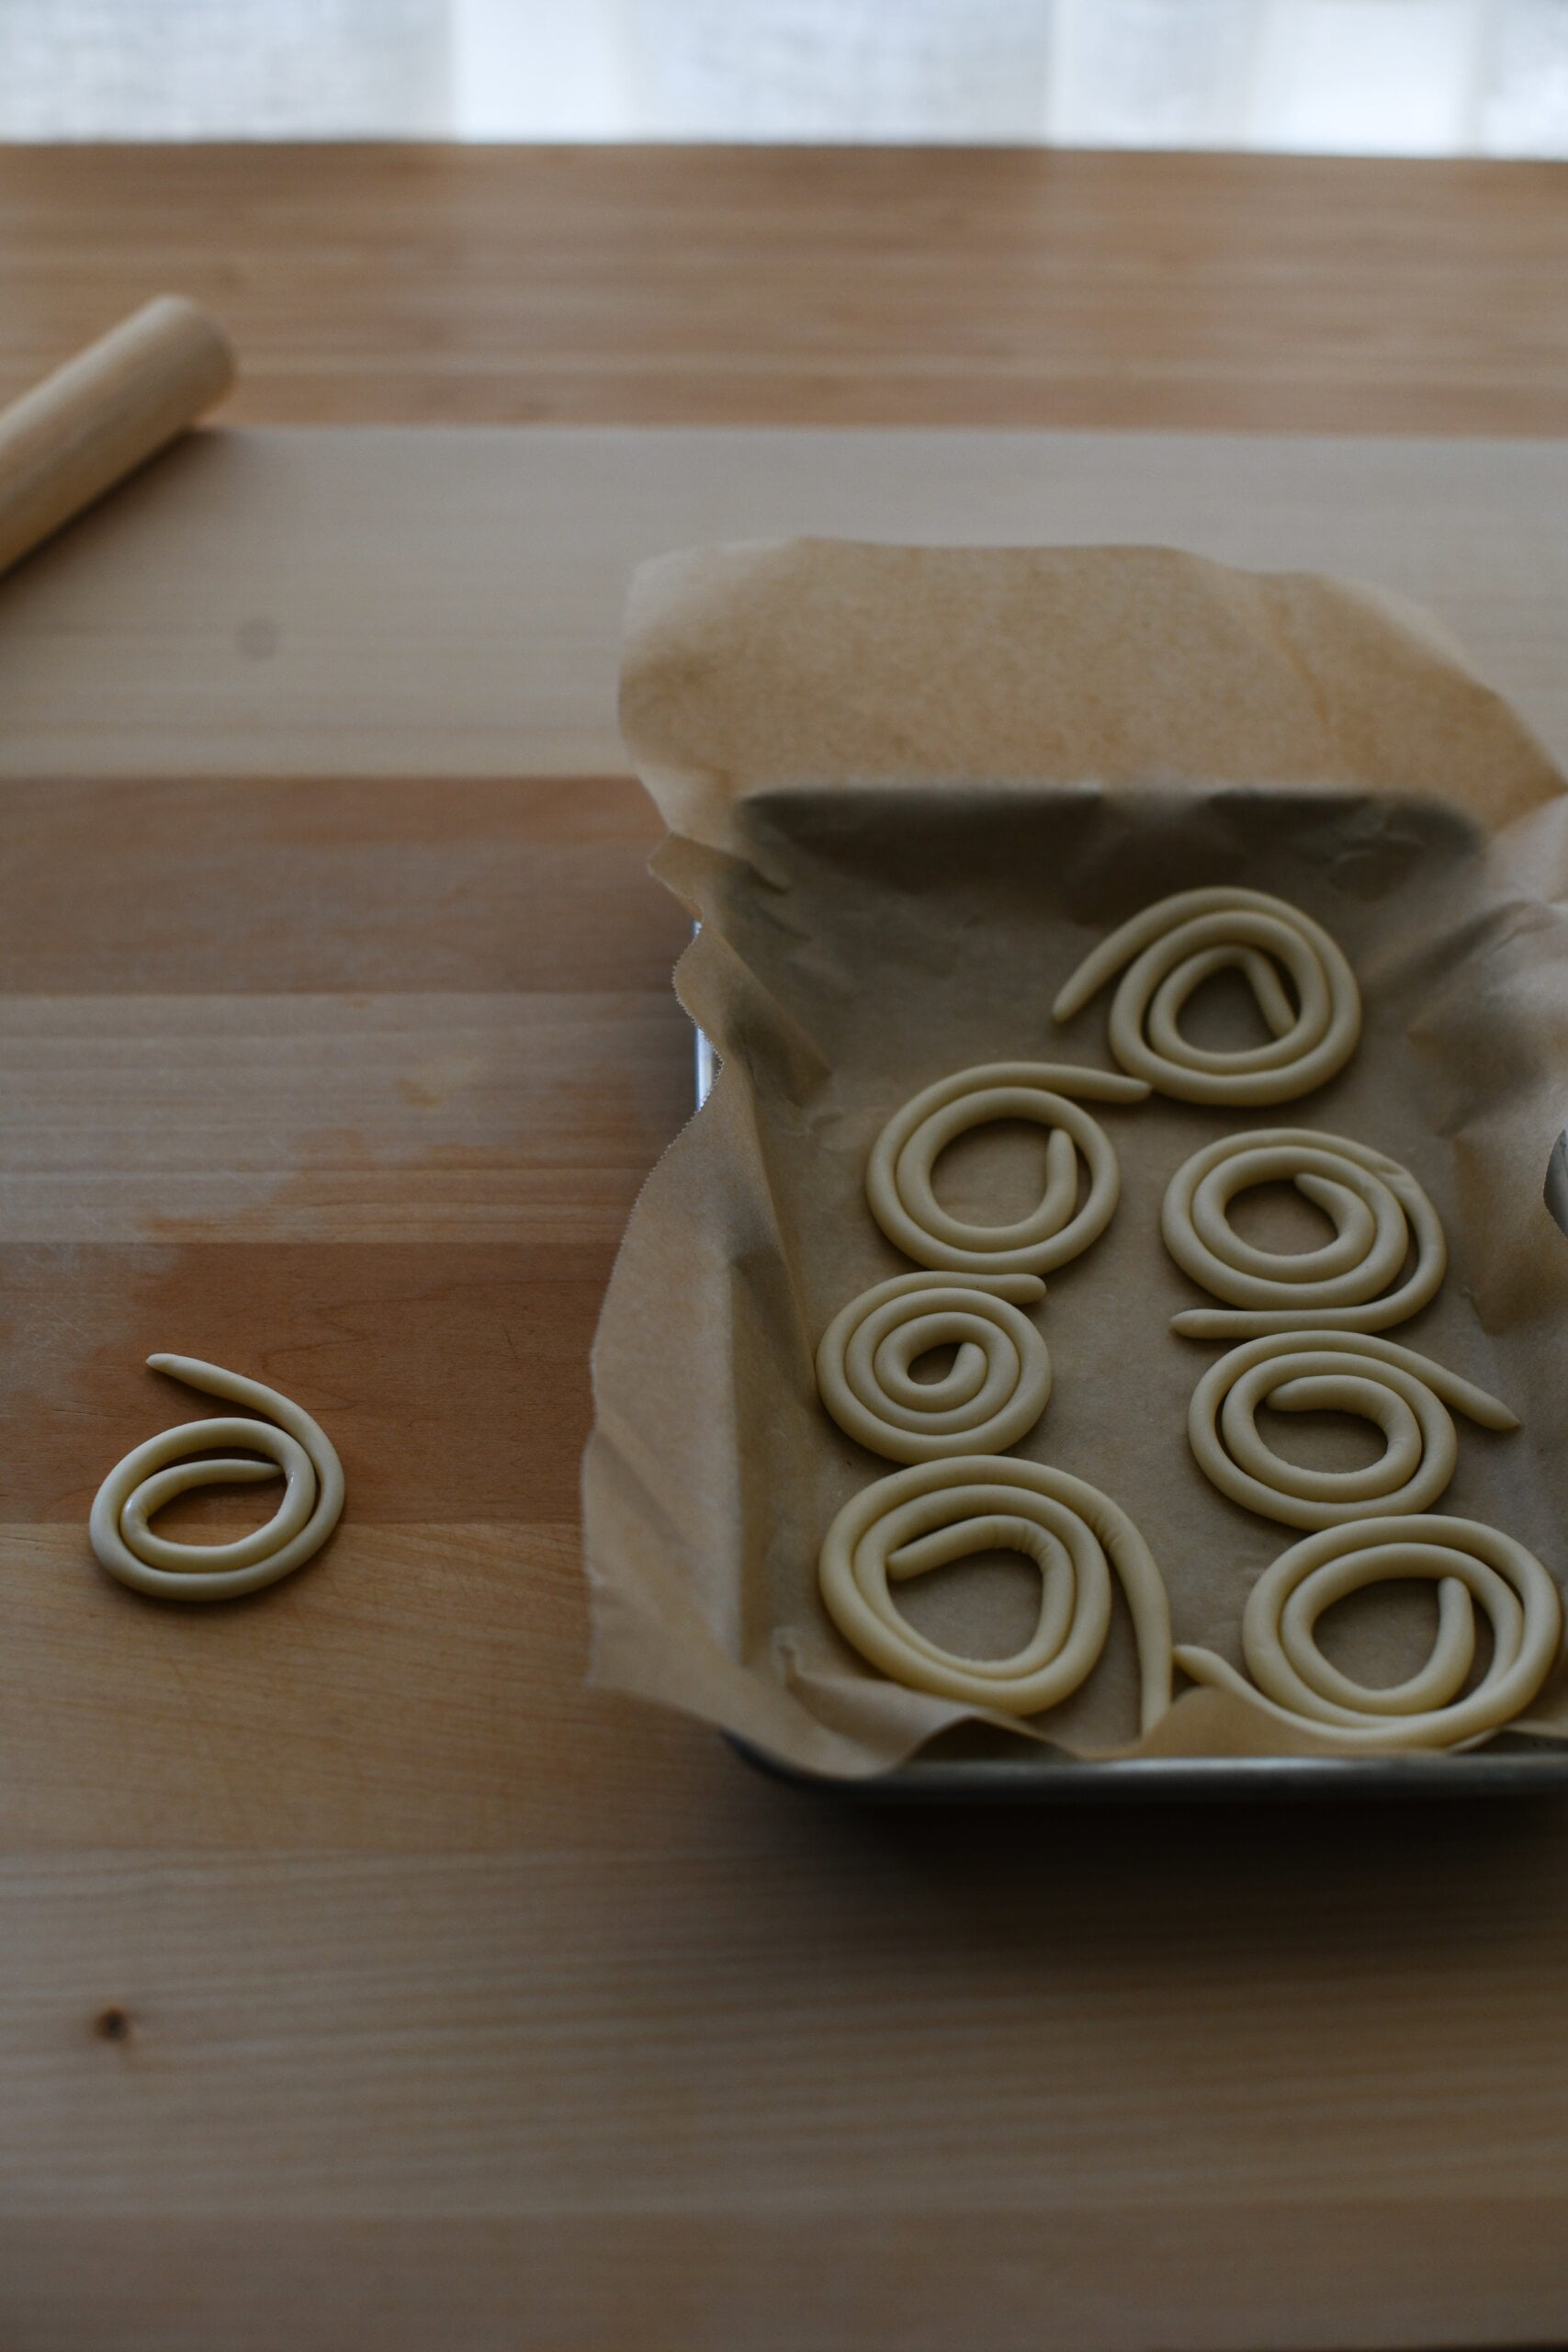
Absolutely, and I do it all the time. Once you’ve shaped each strand, gently roll it into a spiral and arrange it on a baking sheet, making sure the pasta isn’t sticking together.
Place the tray in the freezer for around 20 minutes, or until the coils are firm enough to handle. Then transfer the frozen pici to an airtight container or freezer bag for longer storage.
There’s no need to thaw it before cooking. Add the pici directly from frozen to generously salted boiling water, keeping in mind that it will take slightly longer to cook than freshly made pasta.
This is hands down my favourite way to have homemade pasta ready to go without trying to make dough, roll pasta, and cook dinner all in one sitting.
Homemade Pici Pasta Recipe
Ingredients
- 200 g tipo 00 flour
- 90-94 ml warm water
- 10 ml EVOO
Instructions
- Place the flour in a mound on your work surface and create a well in its centre. Pour in the water and whisk in small amounts of flour until you have a paste, then continue to add flour to this mix and cut it in with a bench scraper or your fingers.
- Bring the dough together to form a shaggy ball, then knead for 7-10 minutes with a short, covered rest halfway until your dough ball is smooth, elastic and springs back when poked. Cover and rest for a minimum of 30 minutes but preferably 60 minutes.
- Divide the dough into four pieces. Work with one at a time while keeping the other pieces covered so they don’t dry out. Using a rolling pin, flatten the piece until it’s about 1-2cm thick. Brush each side with olive oil, then cut into strips around 1cm in width.
- Using the palms of your hands roll each strip out into a long, round noodle. Start with your hands in the centre then work them outward, stretching the dough into a thick noodle (or spaghettoni). Keep going until your noodle is about 1/2 cm thick. Pici is a rustic shape, and irregularities are the beauty of hand rolled pasta!
- Set each noodle aside on a baking sheet lined with fine semolina or a clean tea towel while you continue with the rest of the dough.


